


Master SketchUp Rendering Tools for Photorealistic Visualisations
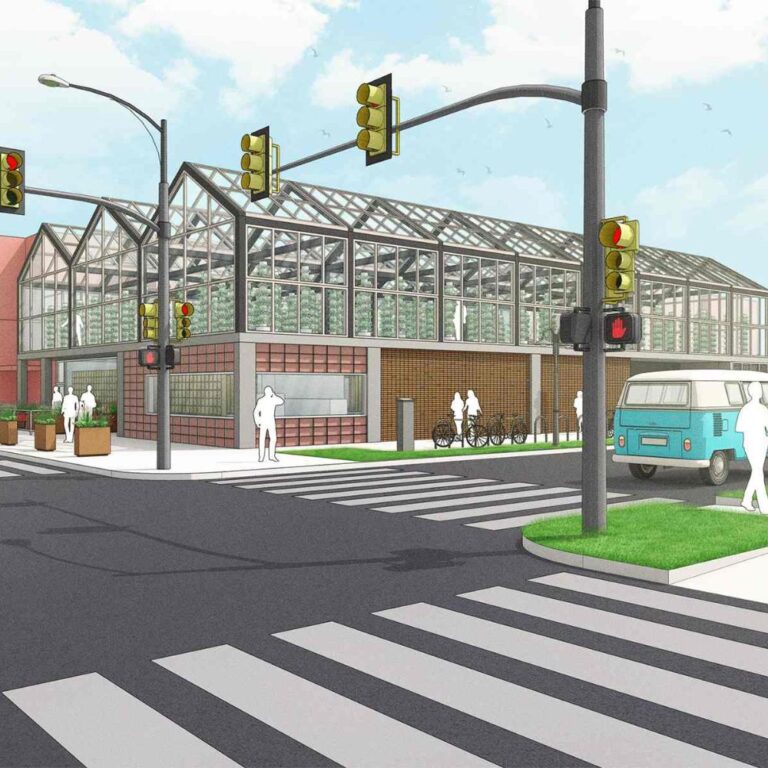
A strong render lets clients see, question and respond to designs. Lighting and finishes heavily influence how real the image feels.
This is where SketchUp rendering tools make a difference. SketchUp gives designers a flexible modelling environment, while integrated tools help bring designs to life through high-quality visual imagery.
Why Photorealistic Rendering Matters
Photorealistic rendering makes it easier for people to understand a design without needing to interpret technical drawings or unfinished models. Realistic visuals help clients picture the intended outcome more clearly.
This is especially valuable during presentations and approval stages, where strong visuals help speed up feedback and keep projects moving. In industries like architecture and retail design, visual quality can influence how a concept is received from the start.
Building a Strong Foundation in SketchUp
Good digital visuals usually start with a clean, well-structured SketchUp file. Before adjusting finishes or lighting, make sure the file is easy to work with.
Keep Your Model Clean
Messy geometry can create output inconsistencies later. Grouping objects properly and keeping scenes organised helps visualisation software process the model more accurately. Adding subtle edge detail can also help objects respond to light more naturally within a scene.
It also makes model updates easier as projects expand.
Use Trimble Connect for Better Collaboration
With distributed teams, file management is as important as the final render. Using Trimble Connect allows teams to share updated SketchUp files, review changes and keep project coordination centralised as the design develops.
SketchUp is also widely used in professional design workflows, where collaboration and visual communication play important roles. Trimble Connect helps teams coordinate feedback more efficiently across projects without relying on disconnected file sharing.
Choosing the Right Rendering Software
SketchUp itself focuses primarily on modelling, which is why many designers use SketchUp rendering tools and visualisation extensions to create more refined presentation images.
Some of the most commonly used solutions include:
- V-Ray for SketchUp
- Enscape
- Lumion
- Twinmotion
- D5 Render
If you are new to SketchUp rendering tools, this beginner-friendly rendering tutorial provides a useful introduction to the rendering process.
Enscape and D5 Render are often used for faster real-time visualisation, while V-Ray gives designers deeper control over lighting, textures and final image quality.
Working With Realistic SketchUp Textures
Poor-quality textures, incorrect scaling and overly reflective elements are among the most common reasons visuals appear artificial. When used correctly, SketchUp rendering tools can help create more balanced and lifelike scenes.
When applying SketchUp textures, focus on details that naturally suit the space. Timber grain, concrete and fabric patterns should appear correctly scaled, while subtle variation helps avoid an overly polished look. Surface roughness and reflection settings also influence how smooth, matte or reflective materials appear.
Many visualisation tools support Physically Based Rendering (PBR) materials, which improve how light interacts with objects in a scene. Small imperfections often create more authentic-looking results than perfectly smooth finishes.
Creating More Realistic Lighting Setups

Lighting shapes the atmosphere of a scene and influences how materials, colours and depth are perceived. Even detailed models can appear flat when the lighting feels too even or overly harsh.
A simple lighting workflow often starts with natural daylight before exposure, shadows and artificial lighting are adjusted gradually.
Lighting Adjustment | Why It Helps |
Soft Shadows | Creates smoother transitions within the scene |
Indirect Lighting | Adds depth without harsh contrast |
Colour Temperature | Helps light suit the environment naturally |
Area Lights | Produces softer illumination across surfaces |
Balanced Exposure | Prevents scenes from appearing washed out |
Natural daylight is often a good starting point for architectural visualisation, while interior scenes often require a combination of daylight and artificial lighting. Some visualisation tools also support High Dynamic Range Imaging (HDRI), which uses panoramic imagery to simulate environmental lighting more accurately.
The goal is to create lighting that feels consistent throughout the space rather than overly dramatic.
Pay Attention to Camera Composition
A strong design presentation is not only about surface details and lighting. The way a scene is framed also affects how people experience the design.
- Use realistic eye-level views: Natural camera height makes spaces easier to understand.
- Avoid extreme wide angles: Overly distorted perspectives can throw off a space’s proportions.
- Guide attention intentionally: Focal points help draw the eye toward important parts of the design.
- Leave breathing room within the frame: Overcrowded scenes can make images feel busy and difficult to read.
- Keep architectural lines clean: Balanced vertical and horizontal lines help create a more polished visual.
For interior and retail projects, composition can strongly influence how spacious and functional a space appears, while camera focal length affects how proportions are perceived.
Post-Processing Tips That Improve Final Renders

Post-processing helps refine exported images after the main visual is complete. Small adjustments can improve clarity and presentation without changing the design itself.
- Adjust contrast carefully: Helps add definition without making the image too harsh.
- Refine highlights and shadows: Balances the brightness and darkness within the image.
- Correct colour balance: Maintains consistent tones across the scene.
- Use sharpening sparingly: Too much sharpening can reduce image quality and surface detail.
Subtle refinements usually yield cleaner, more professional results than heavy filters or exaggerated colour grading.
Create Better Visuals With SketchUp Africa
Whether you’re creating client presentations, design concepts or marketing visuals, SketchUp’s rendering tools can help you produce more realistic results with greater efficiency.
For assistance with your next project, get in touch with our team and discover how professional rendering workflows can elevate your projects.